Special tiles are not rewards for playing well; they are the output of specific match shapes. Knowing the shape is the whole skill, because it turns a lucky special into a scheduled one.
The shape makes the tile
Three in a row does nothing special. Beyond that, the shape of the match decides what you get, and the mapping is consistent across almost every game of this type even though the names differ.
- Four in a line produces a tile that clears an entire row or column. Which one it clears depends on the orientation of the match that made it, and this is the detail people most often get wrong.
- Five in a line produces the strongest single tile in most of these games, usually one that removes every tile of a chosen colour from the board.
- An L or T shape, which is two lines crossing, produces a tile that clears the area around itself rather than a line through it.
- A square of four, where the game supports it, produces a smaller helper that clears a handful of nearby tiles.
The orientation rule is worth repeating because it decides half of all failed plans. A horizontal match of four gives you a tile that clears horizontally in some games and vertically in others, and the only reliable way to know which is to make one and watch. Do that once, deliberately, in an easy level, and you will not have to wonder again.
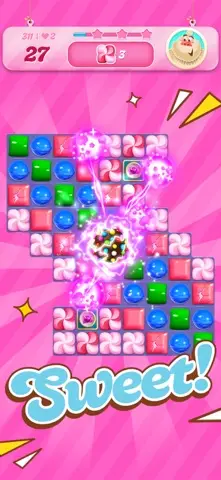
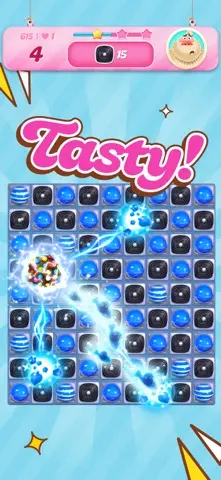
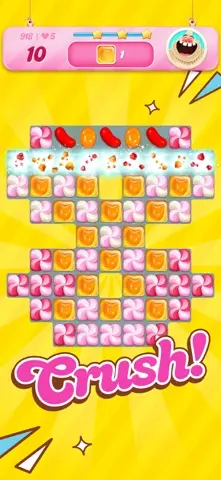
Combinations are where the value is
Firing a special tile on its own gives you what it says on the tin. Swapping two special tiles into each other gives you something neither produces alone, and the difference is usually large enough to decide a level.
- Two line clearers together clear a row and a column at once, from the point where they met. This is the easiest combination to set up and the one worth reaching for by default.
- A line clearer with an area clearer typically produces a much wider band than either would alone, in most games three rows or three columns rather than one.
- Two area clearers produce a single much larger explosion centred where they met.
- The colour remover with anything is the strongest play available: it usually turns every tile of the chosen colour into a copy of the other special and fires them all. On a board with plenty of that colour, this frequently finishes a level outright.
If you have a colour remover and a line clearer on the board at the same time, do not spend either separately. Spend two or three moves manoeuvring them next to each other. That is nearly always the highest-value use of the moves you have left.
Making specials where you need them
A special tile appears at the position where the swap happened, not at a random point in the match. That means you choose its location by choosing which of the two tiles you move. When you are making a special that you intend to combine, place it next to the other special deliberately rather than wherever the match happens to sit.
The same logic applies for goals in awkward corners. If the level wants something cleared from the bottom-left, build your line clearer at the bottom-left, even if an easier match exists in the middle. The tile you build in the wrong place will spend two more moves getting to the right one, and two moves is often the entire margin of the level.
What is not worth doing
Two habits waste more moves than anything else in this genre.
The first is firing a special the moment it appears. It costs nothing to leave it on the board while you work elsewhere, unless the level has a spreading obstacle that might swallow it. A special saved for two moves and then combined is worth several times a special used immediately.
The second is chasing the five-in-a-line when the board does not offer one. Players will spend four moves shuffling tiles to build one, fail, and finish the level with nothing. If the shape is not close to existing already, take the four instead and get on with it.
Where this stops applying
Games that use tapping rather than swapping build their specials by group size rather than by shape, and the rules above translate only loosely. The idea that combinations beat single use still holds, but the mapping between what you did and what you got is different. That is covered separately in the guide on boards that change shape and in the notes on tap-based boards linked from there.